Perforce Bridge
What is the Perforce Bridge?
The Perforce Bridge lets you synchronize your Perforce repository to your WVS Project repository in real time so you can continue using Perforce and still take advantage of the automation features of WVS.
The Bridge is bi-directional so you can push from P4 to WVS or from WVS to P4, however, we suggest starting as a push from P4 exclusively up front until your organization has familiarity with both source control management systems.
Setup
Prerequisite
- Python 3
- Git and LFS
- SSH Key
If you don’t already have everything on the list of prerequisites, here is a quick guide on getting set up.
-
Install Python 3 from: https://www.python.org/
- Set up Git and LFS on your system. The steps required are listed below:
- Install the latest Git: https://git-scm.com/
- Install the latest Git LFS: https://git-lfs.com/
- run
git lfs installonce to prime the system
- run
- Setup SSH:
- Generate an ssh key pair.
- Add private key to ssh agent on your system
- Copy contents of public key into your WVS account: https://wvs.io/-/profile/keys
- Create, or if you already have one in your home directory, update the
.gitconfigin your user directory.
- Based on the project you have (Unity or Unreal), you’ll want to grab the
.gitconfigfile that is works with your project.- For Unity, navigate to our Unity Template and copy the
.gitconfig. - For Unreal, navigate to our Unreal Template.
- For Unity, navigate to our Unity Template and copy the
-
In your OS-specific user directory on your computer, create a file and name it
.gitconfig.- Example file location on Windows: “C:\Users<user>"
- You can start by right-clicking in the explore window and creating a new text file.
- Right-click on the file you just created and rename the file, including the extension to
.gitconfig. - Open the
.gitconfigfile in an editor of your choice. - From step 1, copy the content and paste it into the file in your home directory and save the file.
-
In the
.gitconfigfile you just created, locate the[git-p4]section and update the following information:-
user: perforce user name -
password: perforce password -
port: perforce server information ( ex: ip_address:port ) -
host: perforce host in your workspace view ( ex: DESKTOP-I6BLBNA ) -
client: perforce workspace name
-
Create a local git clone
We will need to clone the Perforce repository into a local git project on your machine that you will use to maintain the bridge.
- Create a directory on your machine that you would like to use.
- In the command prompt or terminal,
cdinto the new directory. - Copy your depot path and run the following command to create the clone:
git p4 clone <//depot/path/project>@all

@all if you do not wish to clone the full history.
more options and info can be found here: https://git-scm.com/docs/git-p4.Pushing To WVS
You now have a git repository that is set to track your Perforce workspace. In order to sync your changes into WVS, you’ll have to create a repo in WVS and push your project
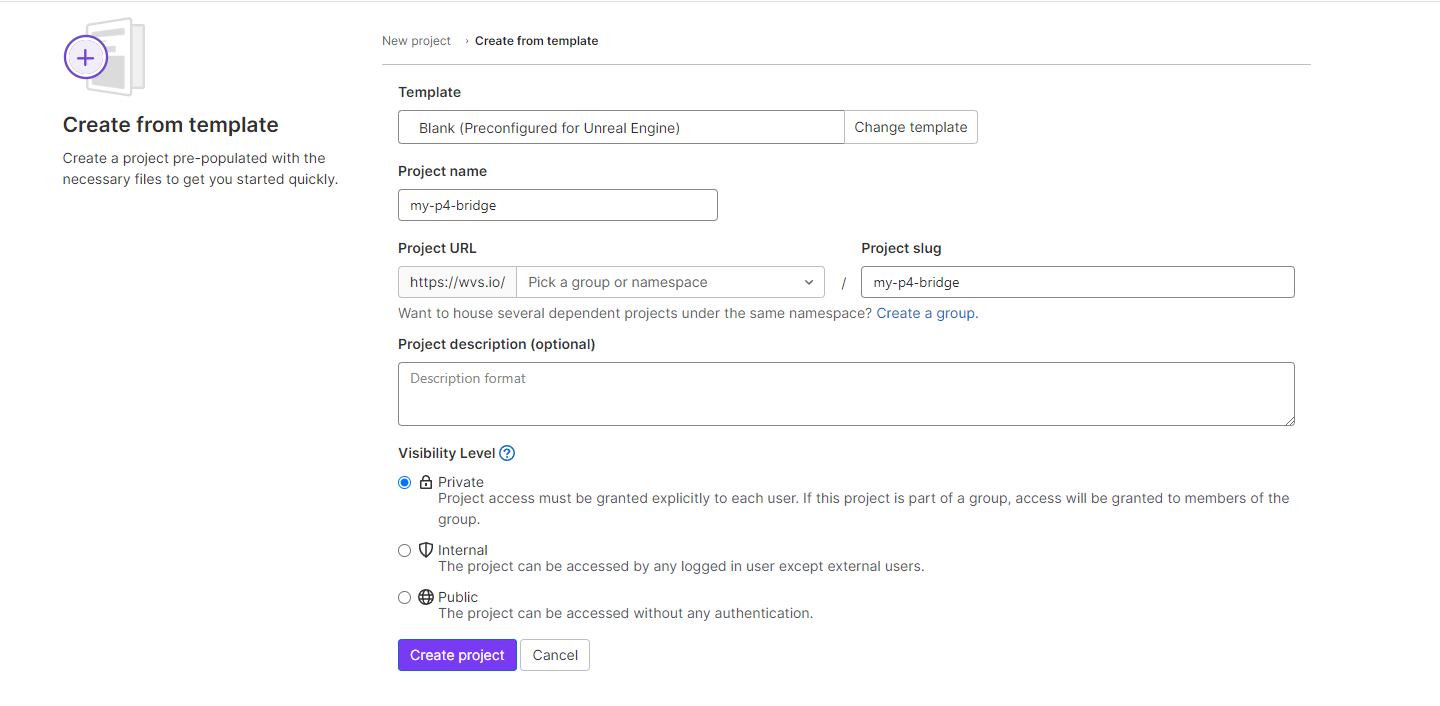
- Create a Project in WVS. Select the project based on the type of project you have. (Unreal or Unity).
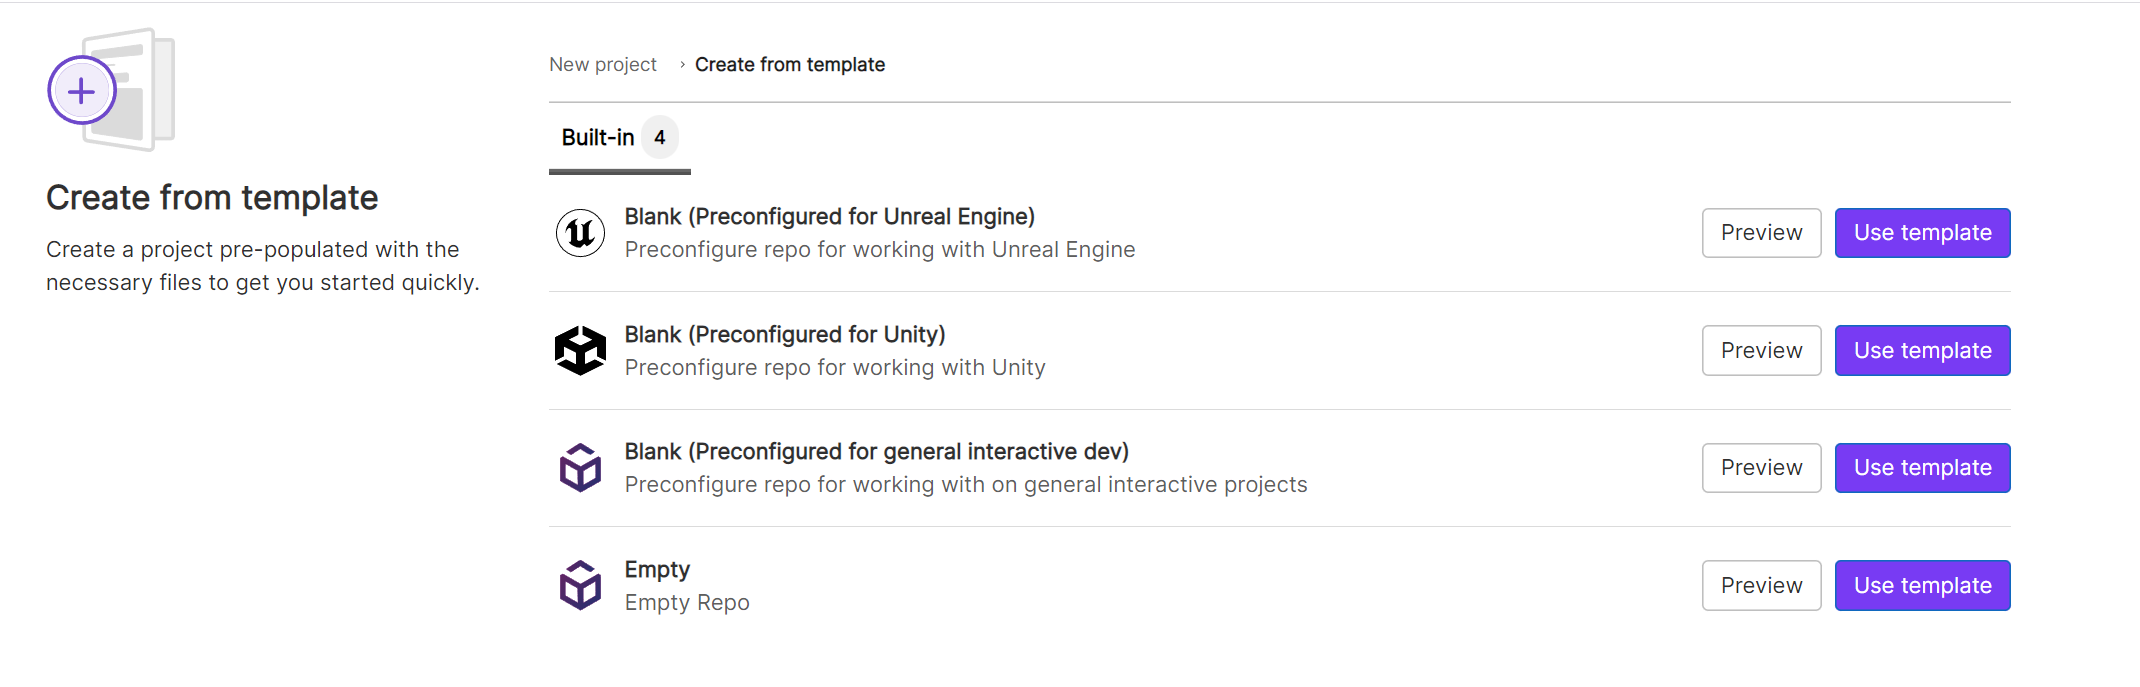
- Enter the name you would like to use for your project, select a namespace, and create project.
- Go to your project homepage and copy the sshUrl from the clone dropdown.

- Go back to your command prompt on your machine and cd into the directory of your local git clone.
- To get everything set up and ready to push to your WVS repo, run the following command to add an origin remote:
sshUrl:
git remote add origin git@wvs.io:your/repo_url.git
https:
git remote add origin <https://wvs.io/your/repo_url.git>
- Next, push the repo and set the upstream to be tracked by running the following command:
git push --set-upstream origin master
git push
Get Started
Head back to the WVS Bridge Page to get started.
Troubleshooting
For additional support, please reach out to us on our Discord.
Was this helpful?
We would love to hear your feedback, Submit a ticket in our Issue Tracker.